Theme Update via WordPress
Updating the theme via WordPress is very similar to the install process via WordPress.
Follow the steps below to update your theme via WordPress:
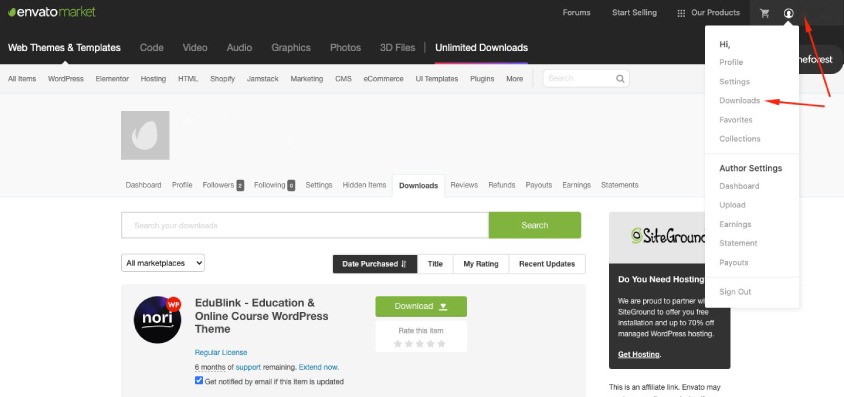
Step 1 - Log into your WordPress Dasrdoard.
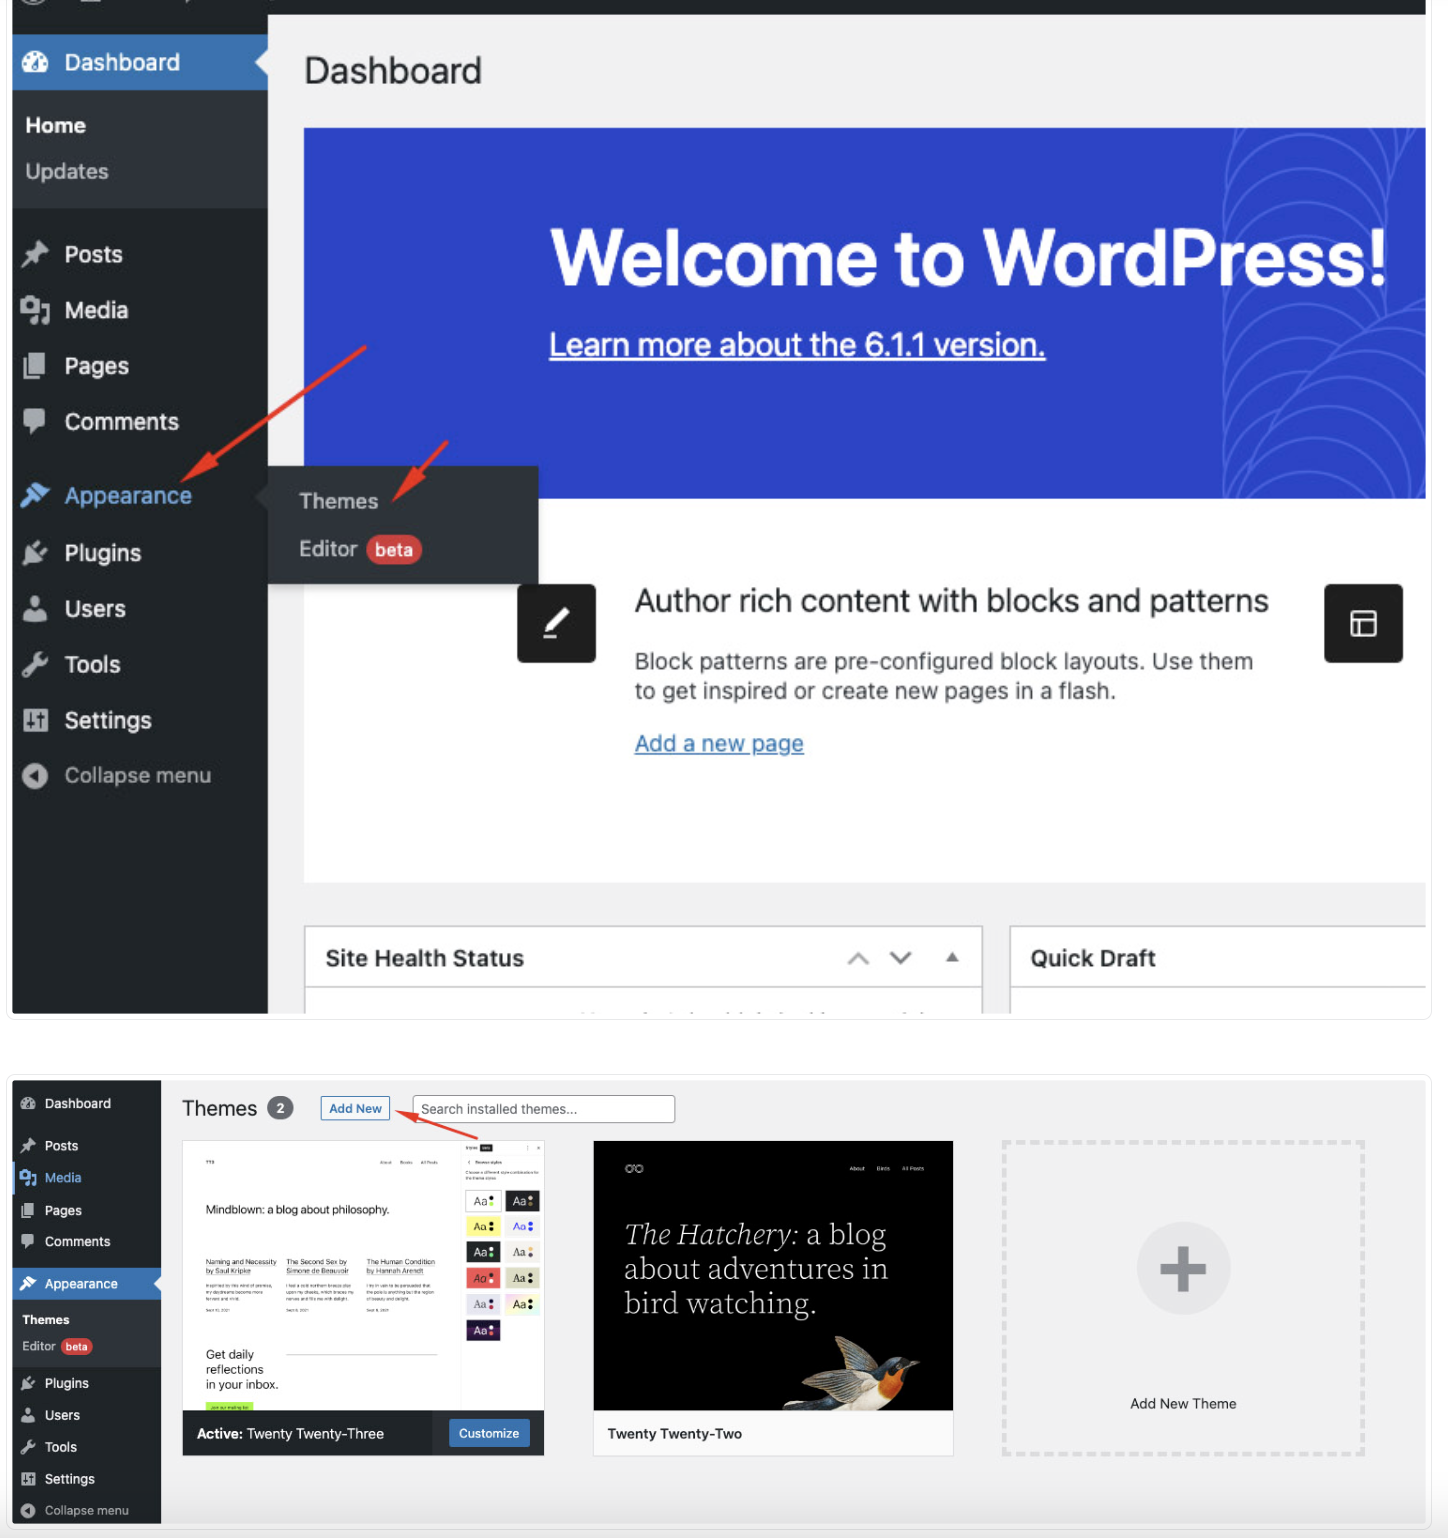
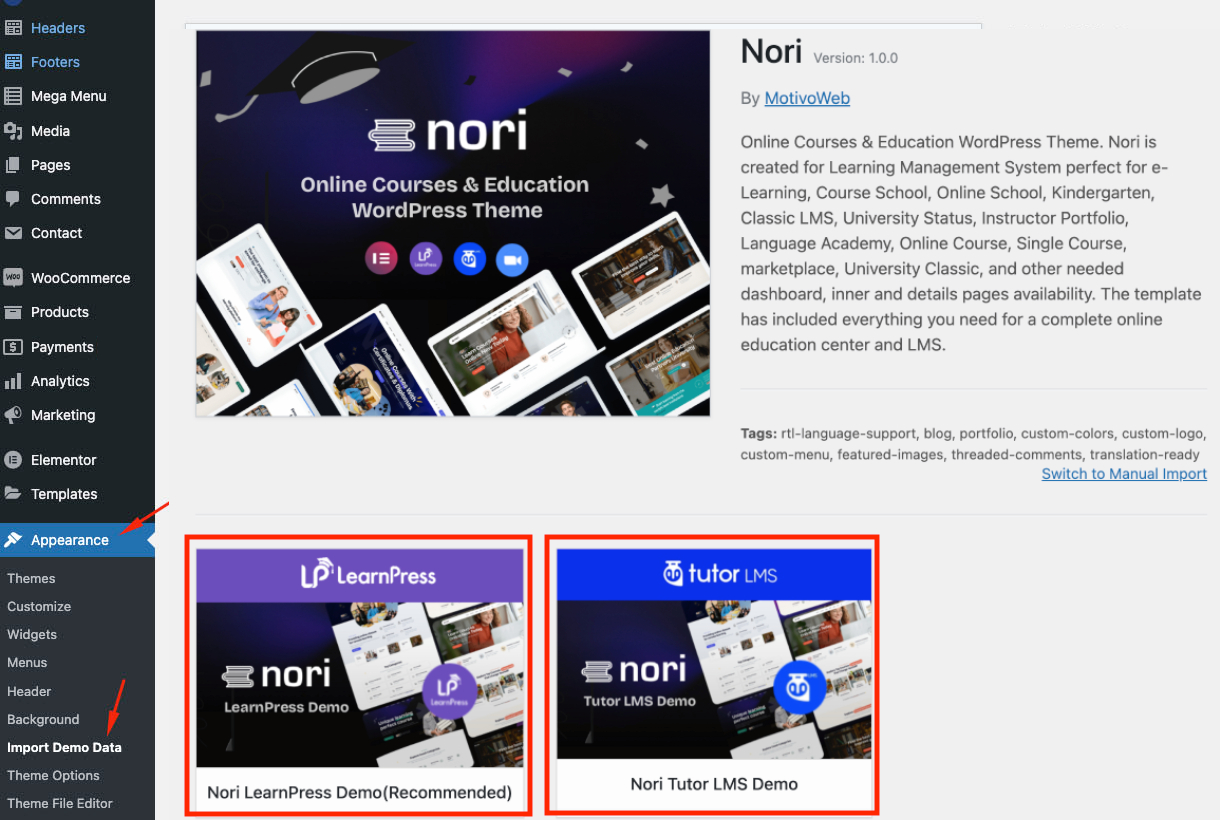
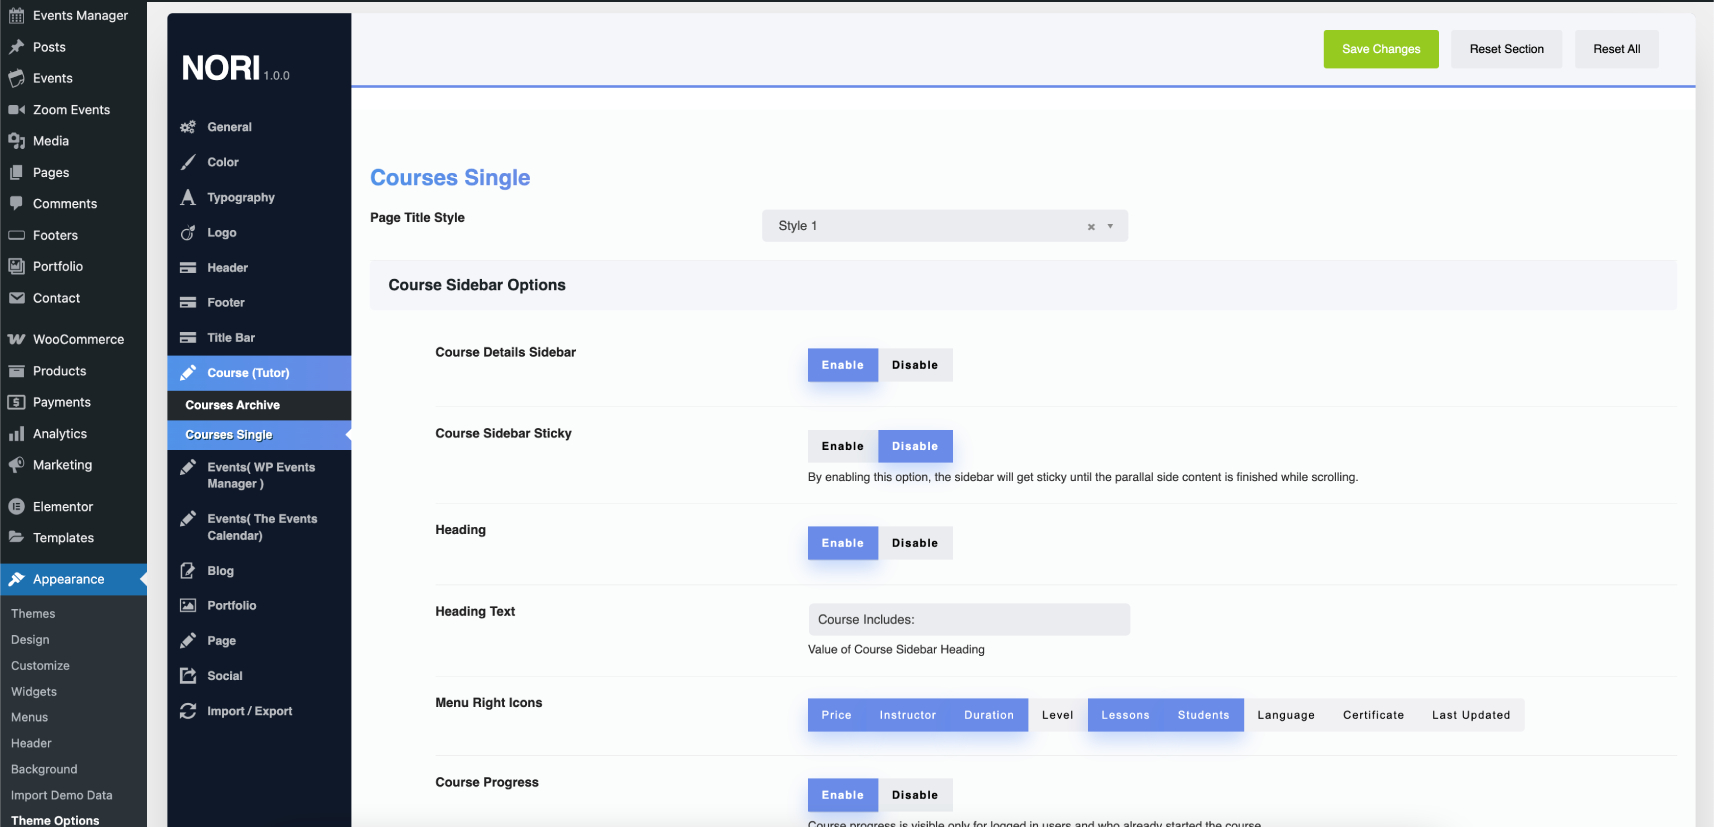
Step 2 - Go to Appearance > Themes.
Step 3 - Deactivate the Nori Theme by simply activating a different theme. Once you activate a different theme, you can delete the Nori theme.
Step 4 - Delete the Nori Theme. Do not worry, your content will not be lost!
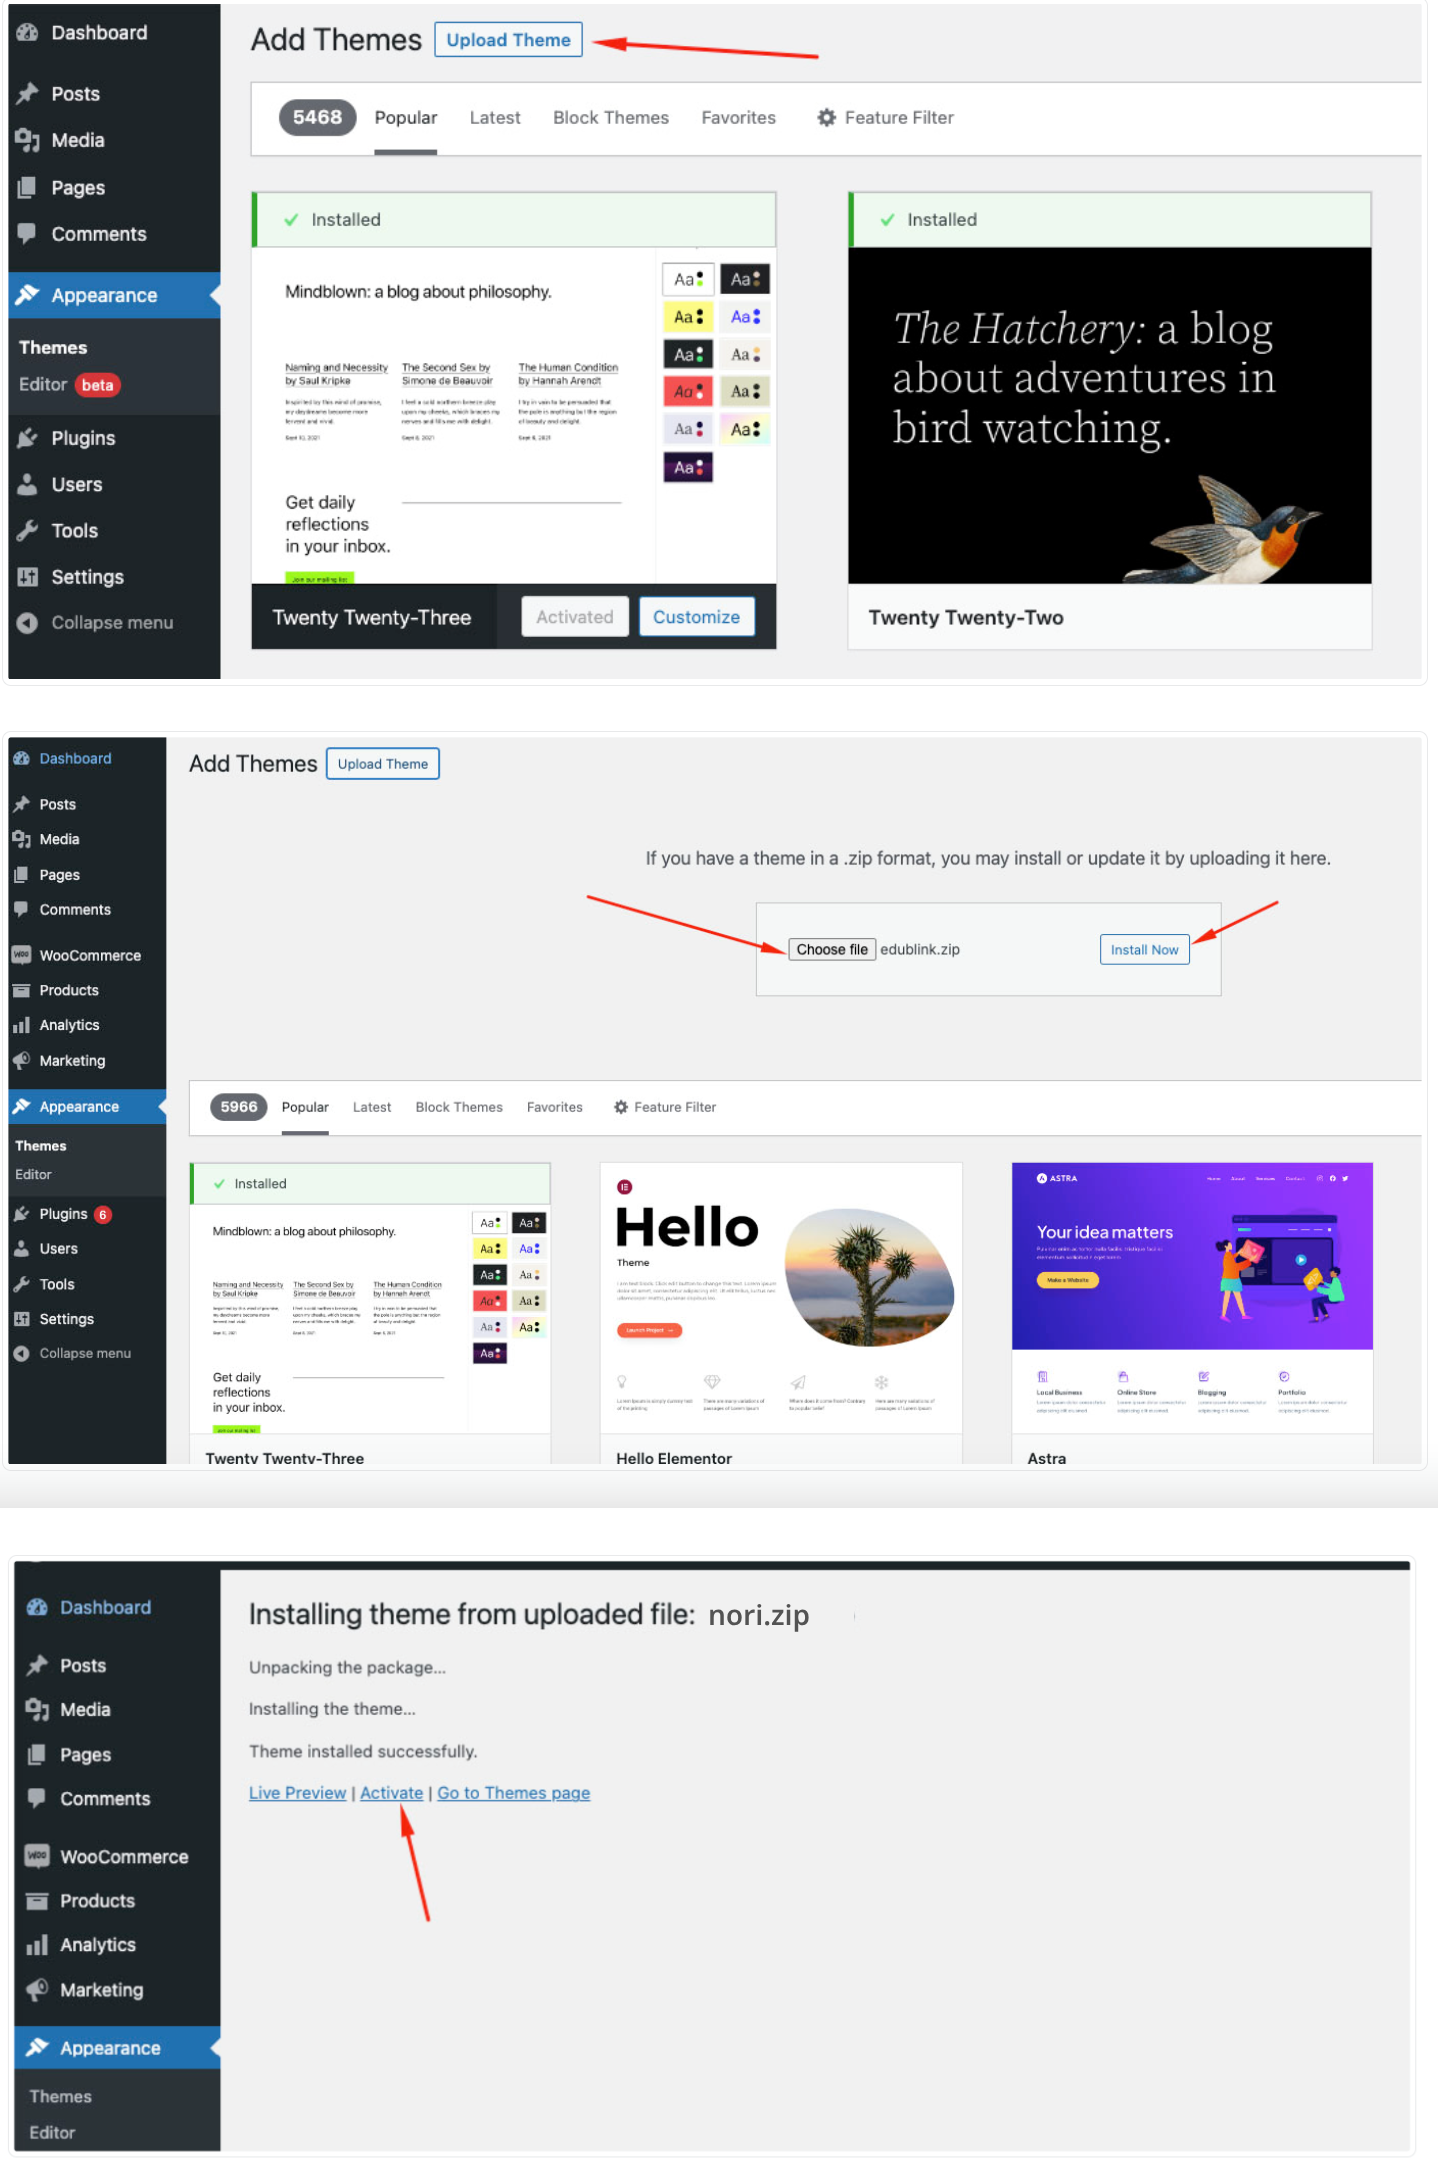
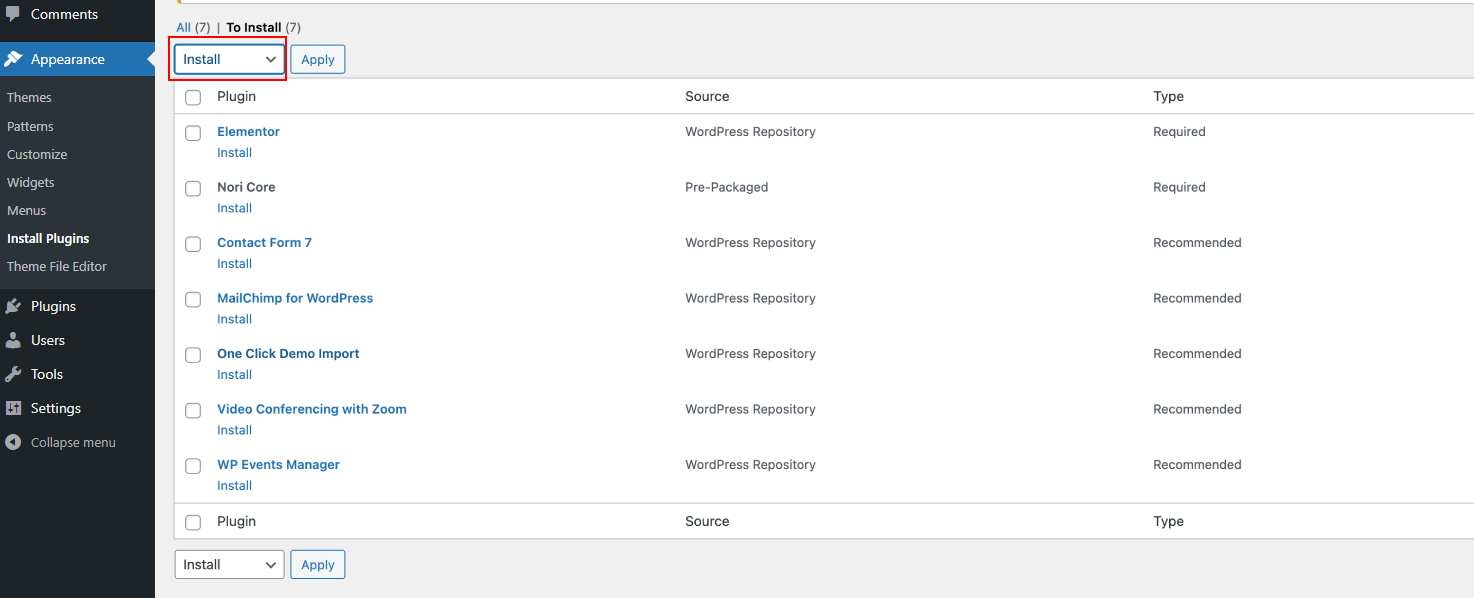
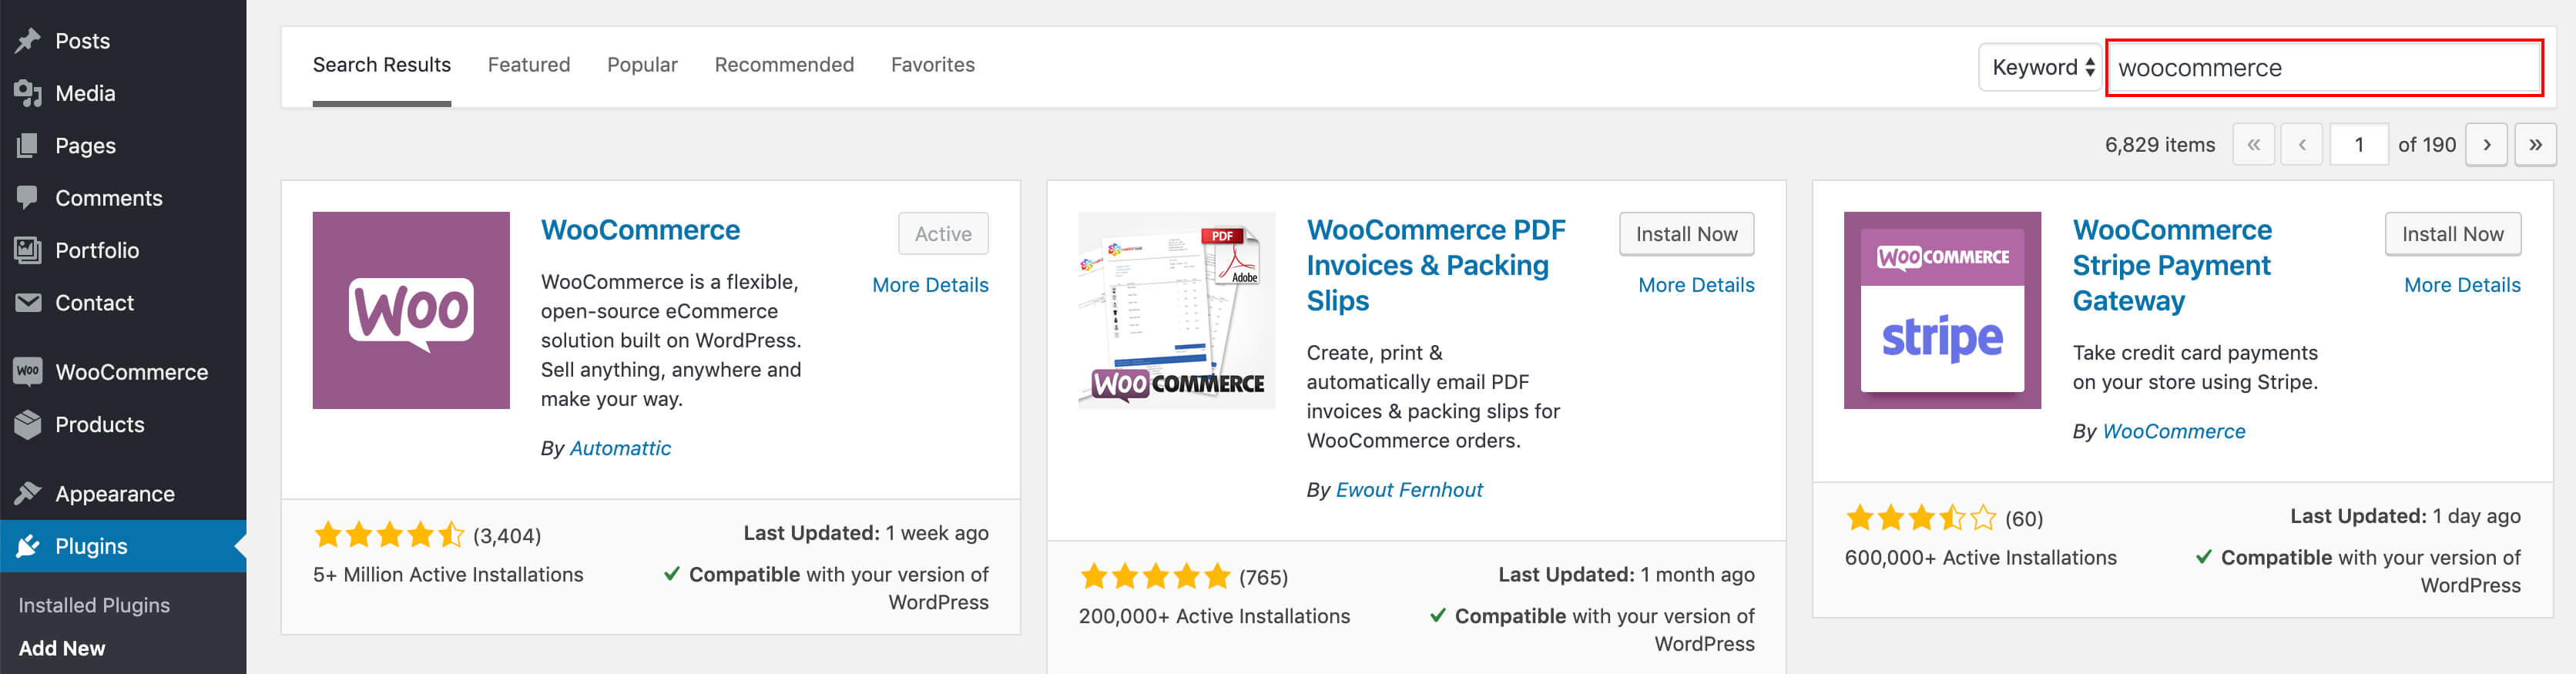
Step 5 - Then simply upload the new Nori.zip” file in the Appearance > Themes section. Click on the Install Themes tab at the top and choose to upload the zip file. You have this step explained in section: Theme Installation via WordPress.
Theme Update via FTP
Updating the theme via FTP is very similar to the install process via FTP.
Follow the steps below to update your theme via FTP:
Step 1 - Go to .../wp-content > themes location on your server using a FTP client and backup your "Nori" theme folder by saving it to your computer, or you can choose to simply delete it. Your content will not be lost.
Step 2 - Download the new version of Nori theme from your Themeforest and retrieve Nori folder by unpacking the zip that you download from Themeforest and Nori_(version.number).zip.
Step 3 - Then simply drag and drop the new "Nori" theme folder into .../wp-content > themes location. Choose to “Replace” the current one if you did not delete it.
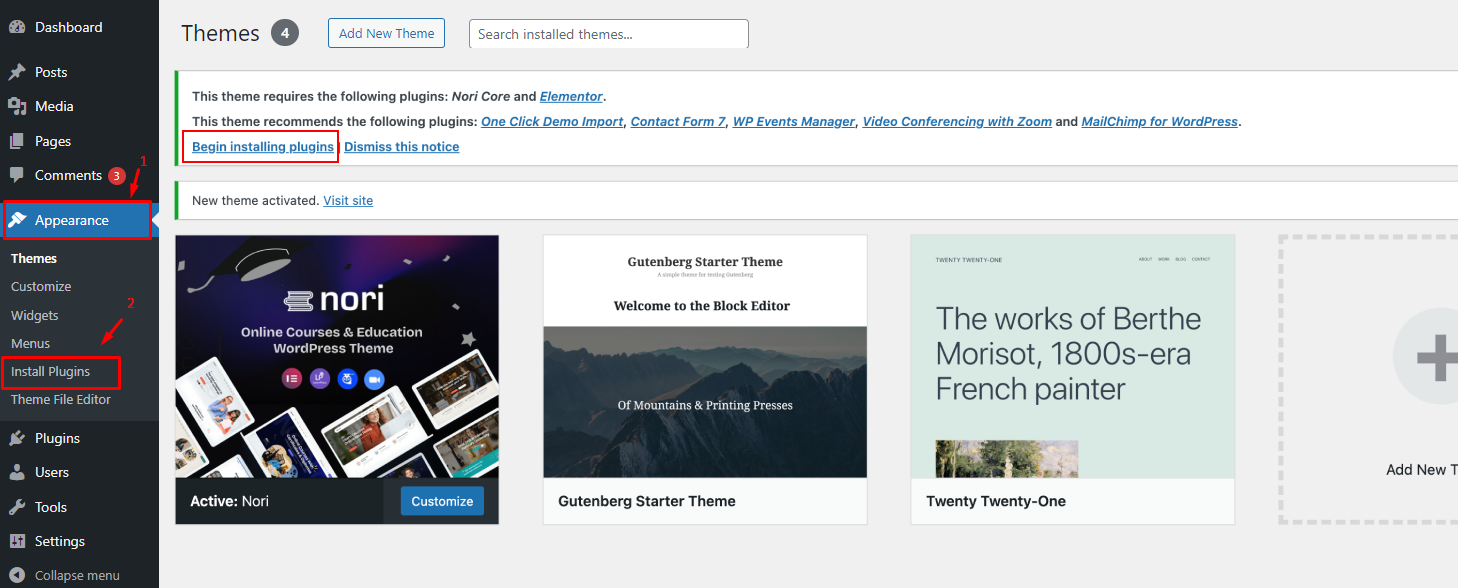
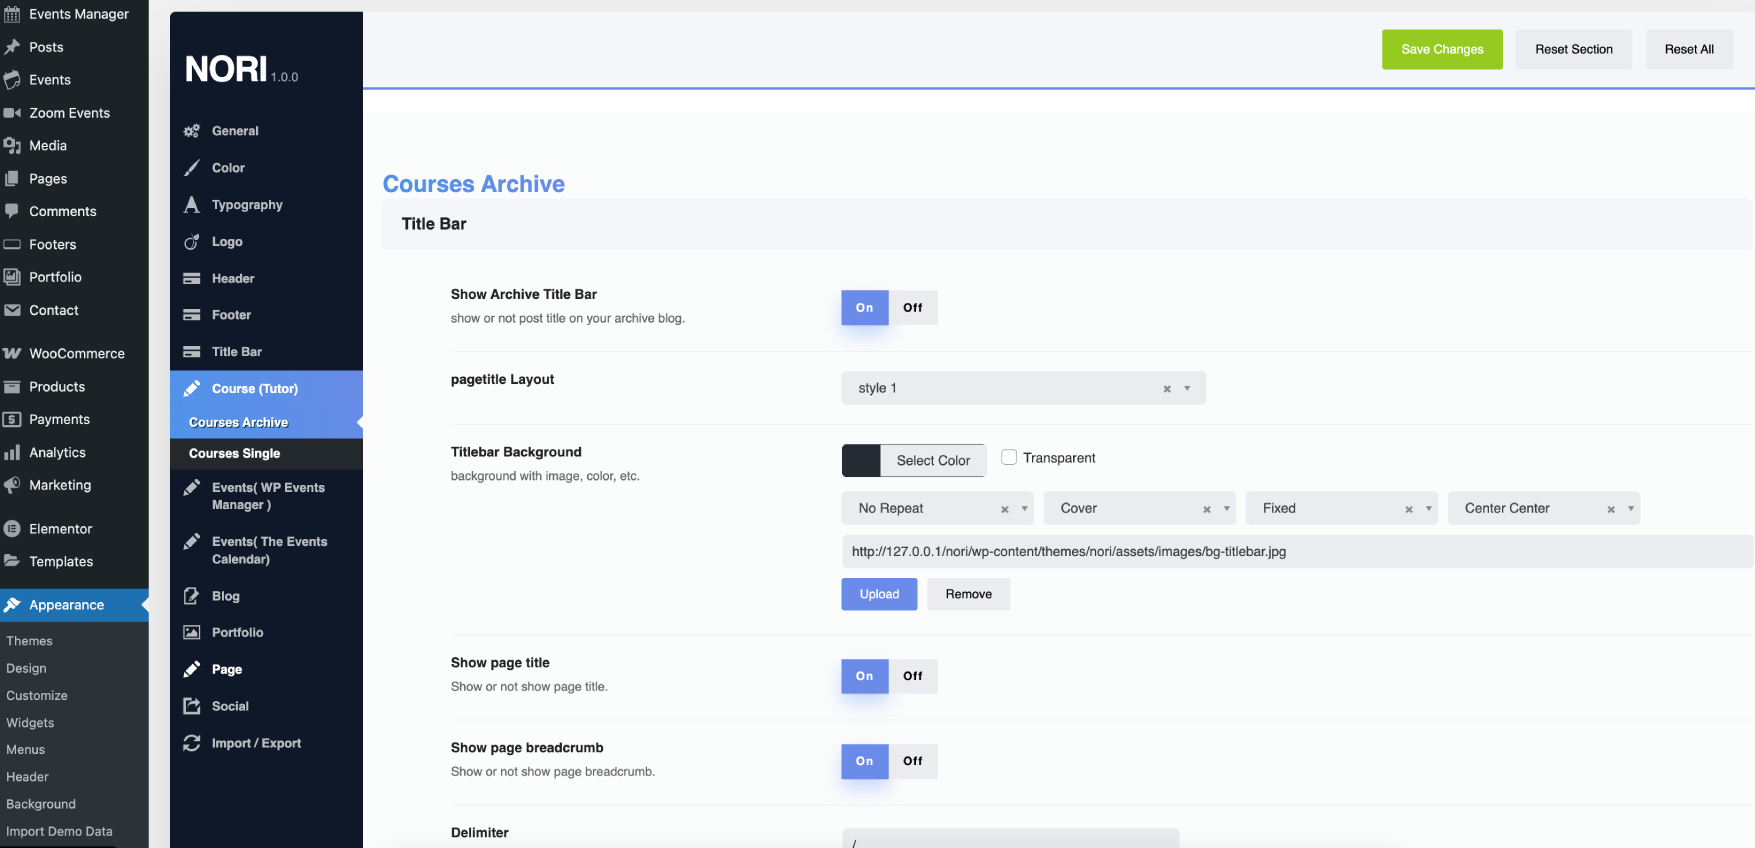
Step 4 - Log into your WordPress Dasrdoard, go to Appearance > Themes and activate the new Nori theme.
Thank you for purchasing our theme
If you have any questions that are beyond the scope of this documentation or have any troubles configuring your website applications with the above settings you can contact the MotivoWeb Support Team by signing up and submit a new topic. MotivoWeb Support Team will be glad to assist you.
Please Send Email:
suport@motivoweb.com
Thanks so much for purchasing Nori!